Terracotta jewelry blends natural beauty with creative craftsmanship. Using soft, workable wet clay, anyone can shape unique, durable accessories at home. Whether you’re new to DIY or a seasoned crafter, this guide will walk you through everything you need to know – from materials and techniques to eco-friendly tips and finishing touches. Let’s dive in!
1.What is Terracotta Jewellery Made Of?
2. How Do You Make Jewelry Out of Terracotta?
3.What Paint is Best for Terracotta Jewellery?
4.Is Terracotta Jewellery Eco-Friendly?
5.Get Started with Ulamart’s Ready-to-Use Wet Clay
What is Terracotta Jewellery Made Of?
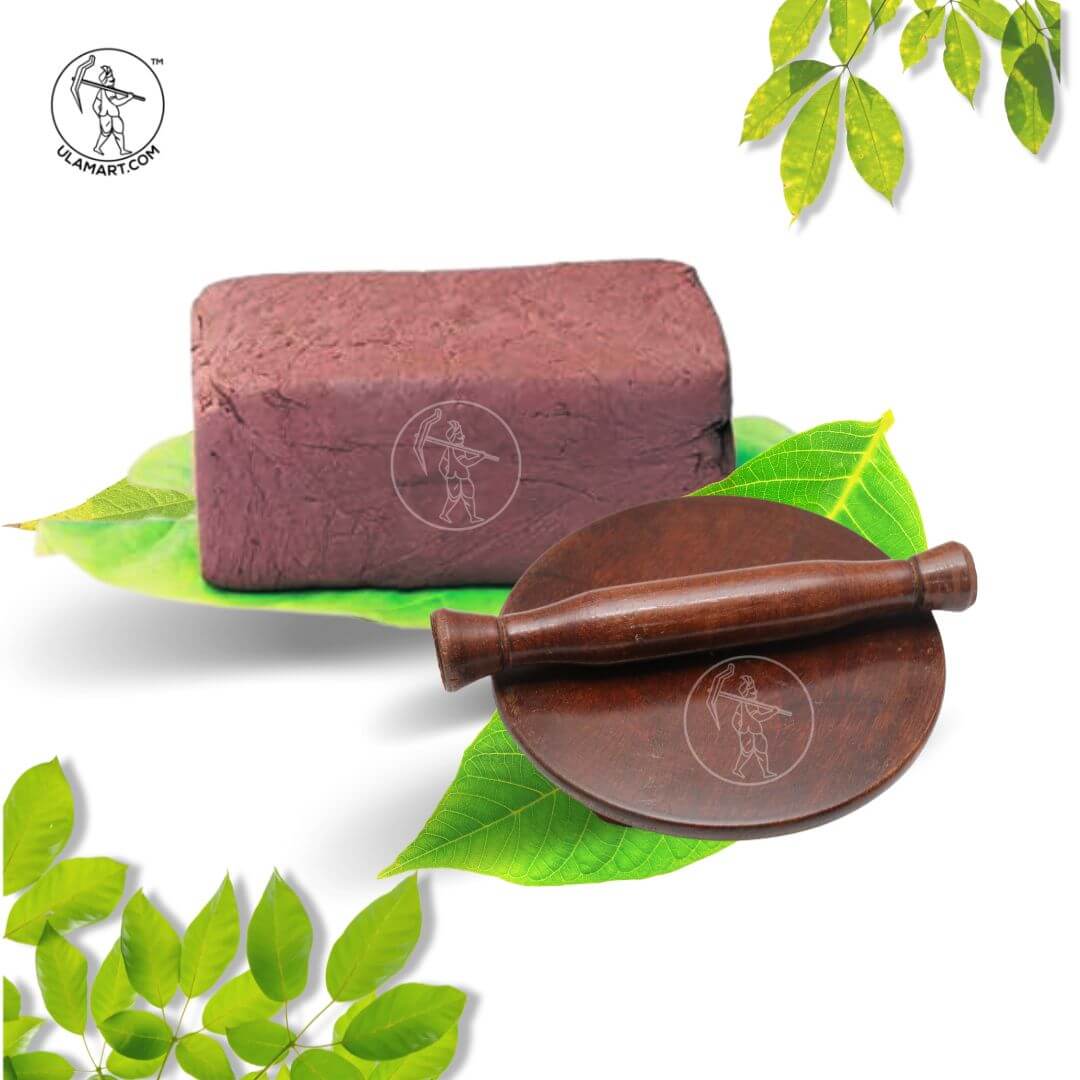
Terracotta jewellery is made from natural clay that contains minerals like silica, alumina, and iron oxide. When dried and baked, the clay becomes firm and durable, making it perfect for earrings, pendants, bangles, and beads. Our Natural clay is pre-softened and smooth, so you can start shaping right away without extra preparation. This makes it perfect for anyone exploring modelling in clay for the first time.
How Do You Make Jewelry Out of Terracotta?
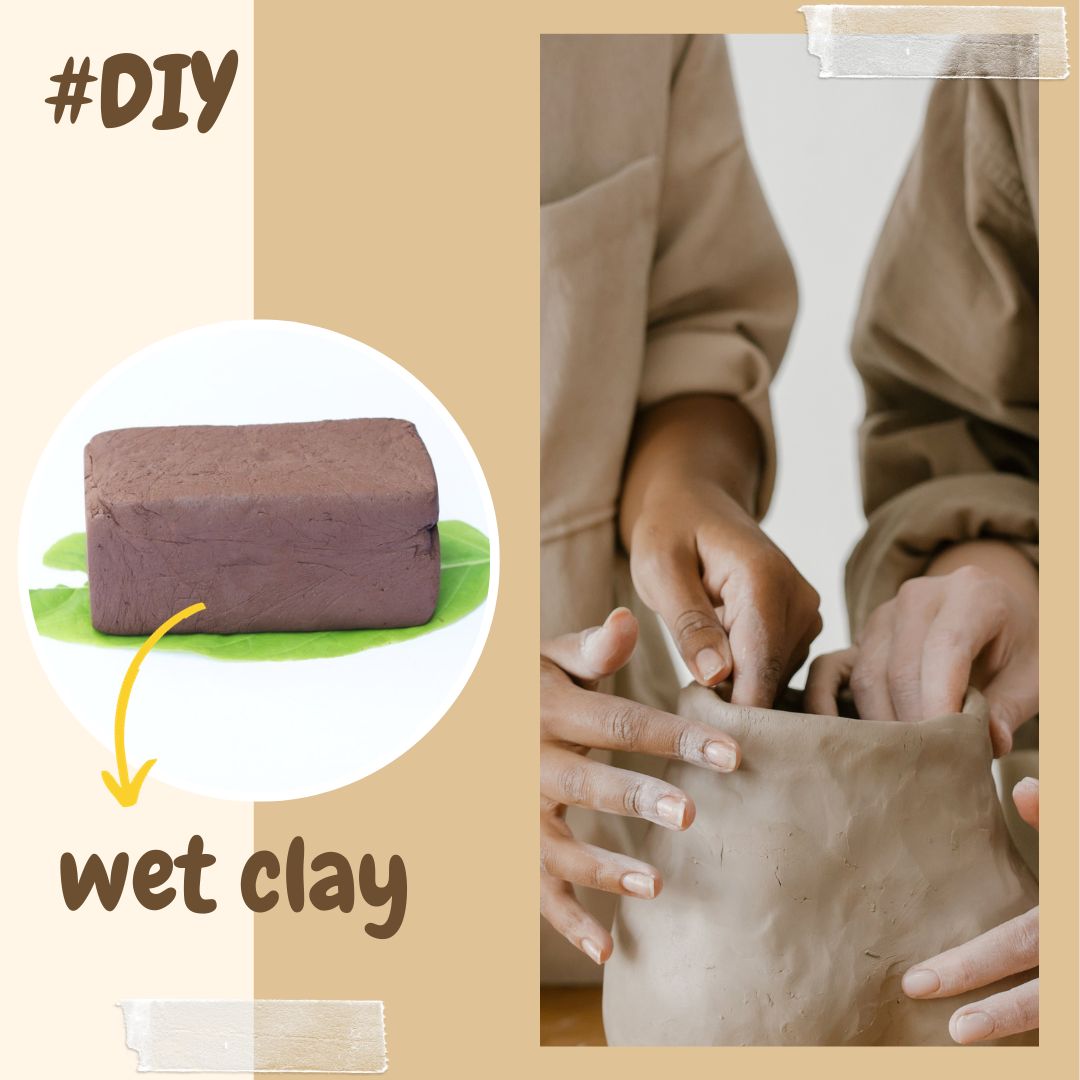
Using natural earthen clay, a soft, reddish-brown material that is very workable when wet and becomes extraordinarily durable when dried and baked, is the first step in making terracotta jewelry. If you like clay modeling or DIY crafts, this is a great option. Furthermore, there is no need for mixing or preparation when using our ready-to-use wet clay; you can begin immediately.
This is a simple, step-by-step guide to creating your own jewelry out of terracotta at home:
1. Get Your Workspace Ready
Find a flat table and cover it with some newspaper or a mat to keep things clean. Gather all the stuff you’ll need, like a rolling pin (or even a bottle works), a small knife, toothpicks or skewers, fine sandpaper, paints, brushes, and whatever jewellery hooks or cords you’ll use to put your pieces together.
2. Knead the Clay
Take a portion of clay and press, fold, and stretch it for about 5 to 10 minutes until it feels soft and smooth. This helps remove air bubbles and makes shaping easier. This is an essential step in modelling in clay.
3. Shape Your Designs
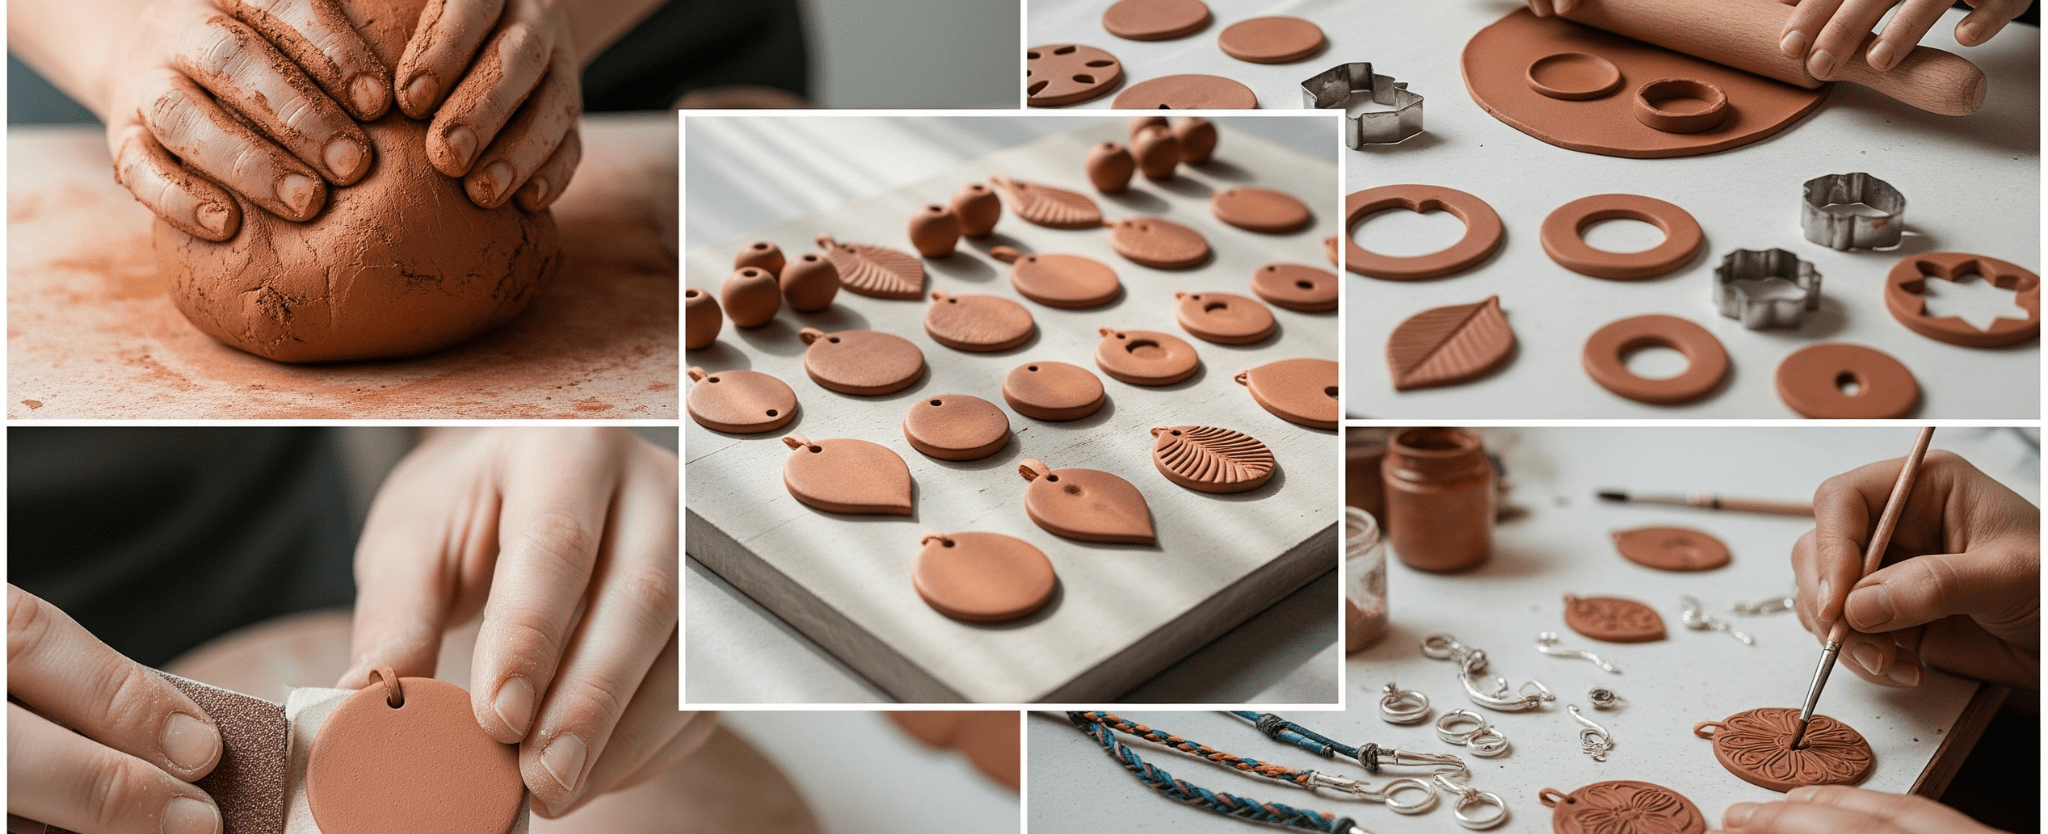
Roll the clay to a thickness of 3 to 5 millimeters. This thickness is ideal for making lightweight earrings, pendants, or beads. Cut shapes using a craft knife, such as a leaf shape for a pendant. You can also use ready-made molds or cookie cutters to create clean, consistent designs easily.
Make holes for hooks or threading by gently poking with a toothpick or skewer near the top of the shape to attach jump rings or strings.
Press textured items like lace, leaves, or buttons into the clay surface before baking to add unique patterns and detail.
4. Baking Time
After shaping your clay jewellery, start by drying it. Place the pieces on a wooden board or thick cardboard in a shaded, airy place. Avoid direct sunlight, as it can cause cracks. Leave them to dry for 24 to 48 hours, turning them over halfway through so both sides dry evenly. Drying removes moisture but does not make the clay strong enough for jewellery, so you must heat or fire it.
- Hair dryer method
This is a quick option but not the strongest. Hold a hair dryer about 10 to 15 cm away from the clay and set it to low heat. Keep moving the dryer so the heat is spread evenly. Continue until the pieces feel completely hard and dry.
- Oven method
If your clay is oven-safe, you can bake it in a home oven. Preheat the oven to 100 – 120°C, place the dried clay pieces on a baking tray, and bake them for 30 to 45 minutes. Allow them to cool naturally before touching them.
- Sawdust firing
This method makes the clay much stronger. Take a metal bucket or other fireproof container and put a layer of dry sawdust at the bottom. Place the dried clay pieces on top of the sawdust, then cover them completely with more sawdust. Light the sawdust carefully and let it burn slowly. Once the fire has gone out, leave everything to cool fully before removing the pieces.
- Coconut shell or charcoal firing
For a rustic look and good strength, you can use coconut shells or charcoal as fuel. Place your clay pieces in a safe, open space or heatproof container. Cover and surround them with the burning material, then let the fire burn down to ash. Wait until everything is cool before handling.
- Kiln firing
If you have access to a kiln, this is the most durable option. Fire the clay at 900 – 1000°C for 2 to 3 hours, then let the kiln cool completely before removing your jewellery pieces.
No matter which method you choose, always work in a safe, ventilated area, keep flammable items away from the fire, and never touch the clay until it has fully cooled.
5. Smooth the Edges
Once completely baked, sand the edges gently with fine-grit sandpaper to remove any rough spots and give your terracotta jewellery a refined look.
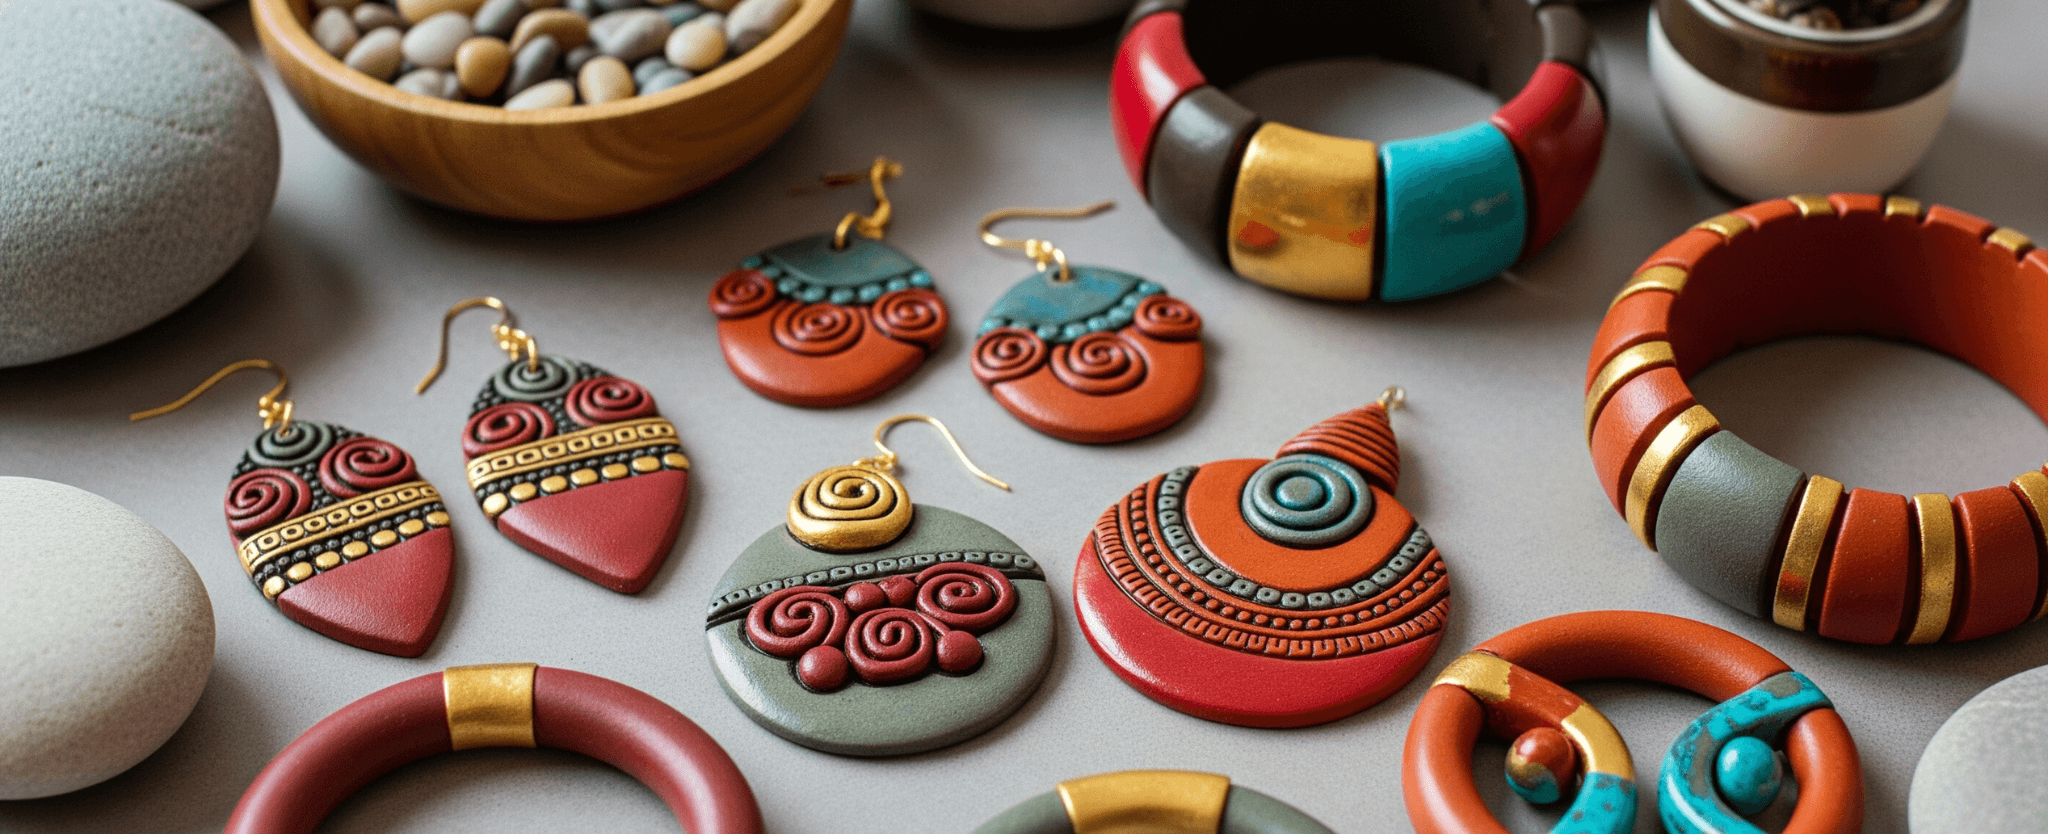
6. Paint and Seal
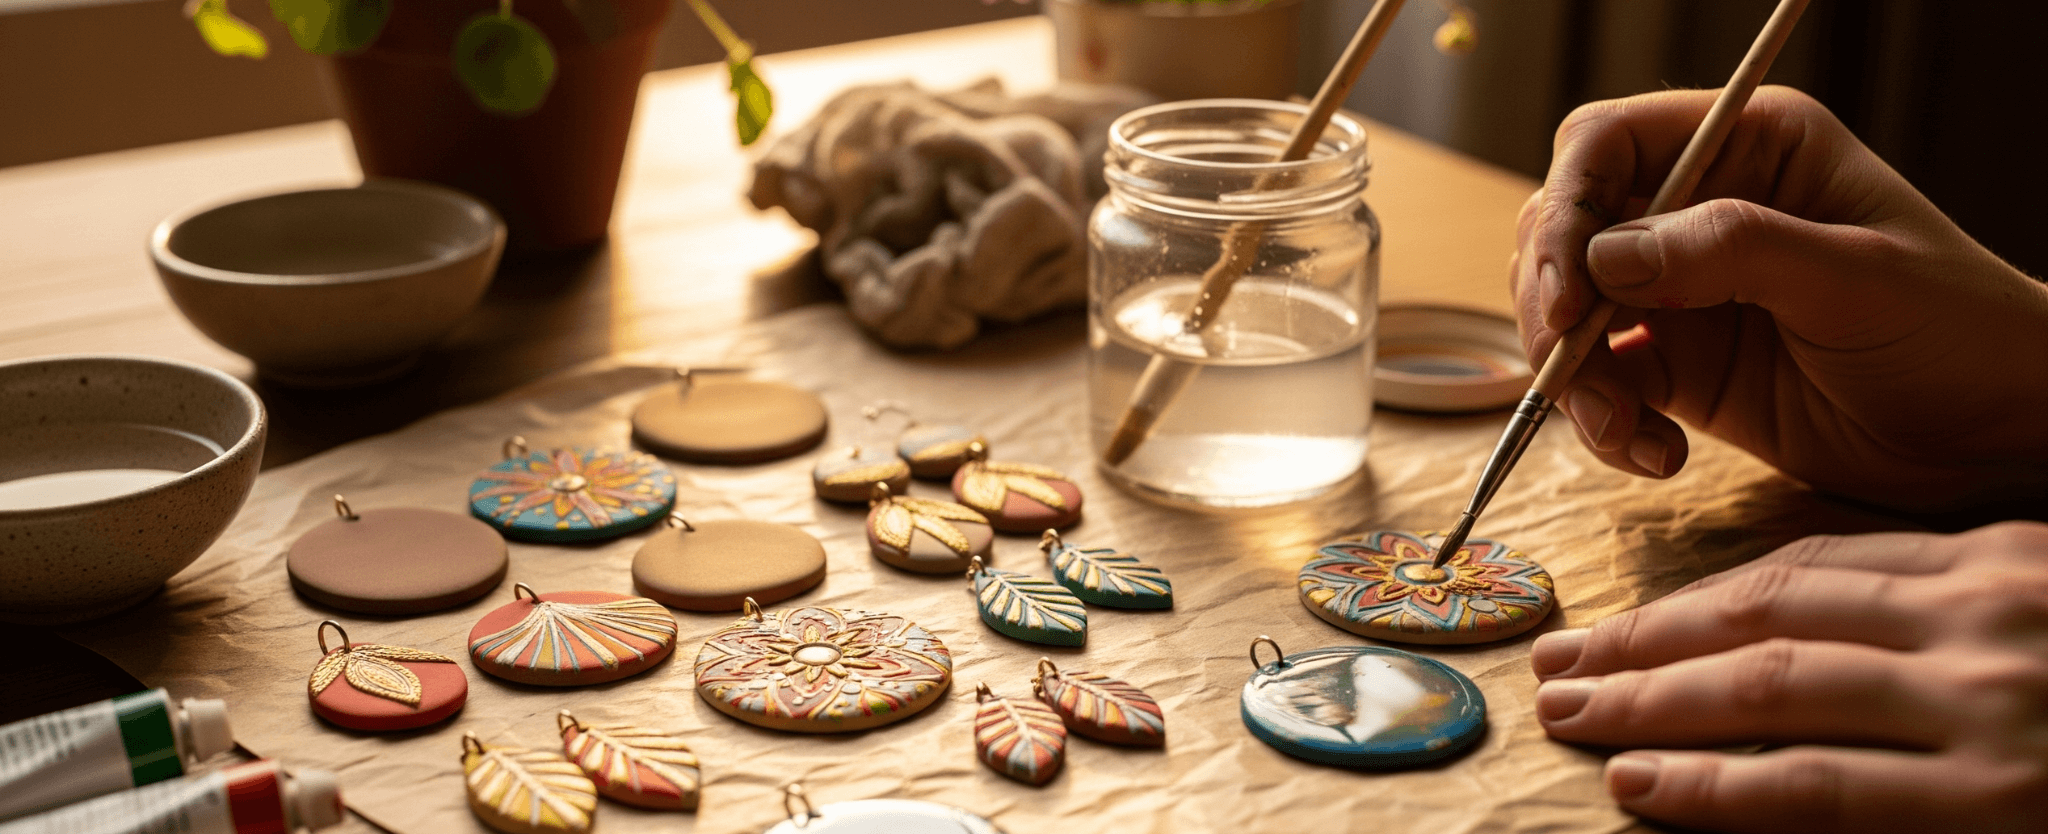

Decorate with acrylic, metallic, pearl, or glitter paints. Let them dry fully, then brush on a coat of clear varnish to protect against moisture. Allow the varnish to cure for 12 to 24 hours.
7. Assemble Your Jewellery
Attach hooks, cords, or chains and your handmade terracotta jewellery is ready to wear or gift.
What Paint is Best for Terracotta Jewellery?
Several types of paint work well on terracotta:
Acrylic paints – bright, easy to apply, quick-drying
Metallic paints – give a gold, silver, or bronze shine
Pearl or glitter paints – for a festive touch
Natural pigments – for an earthy, organic look
No matter which paint you choose, always seal your jewellery with a clear varnish to keep it looking beautiful for longer.
Is Terracotta Jewellery Eco-Friendly?
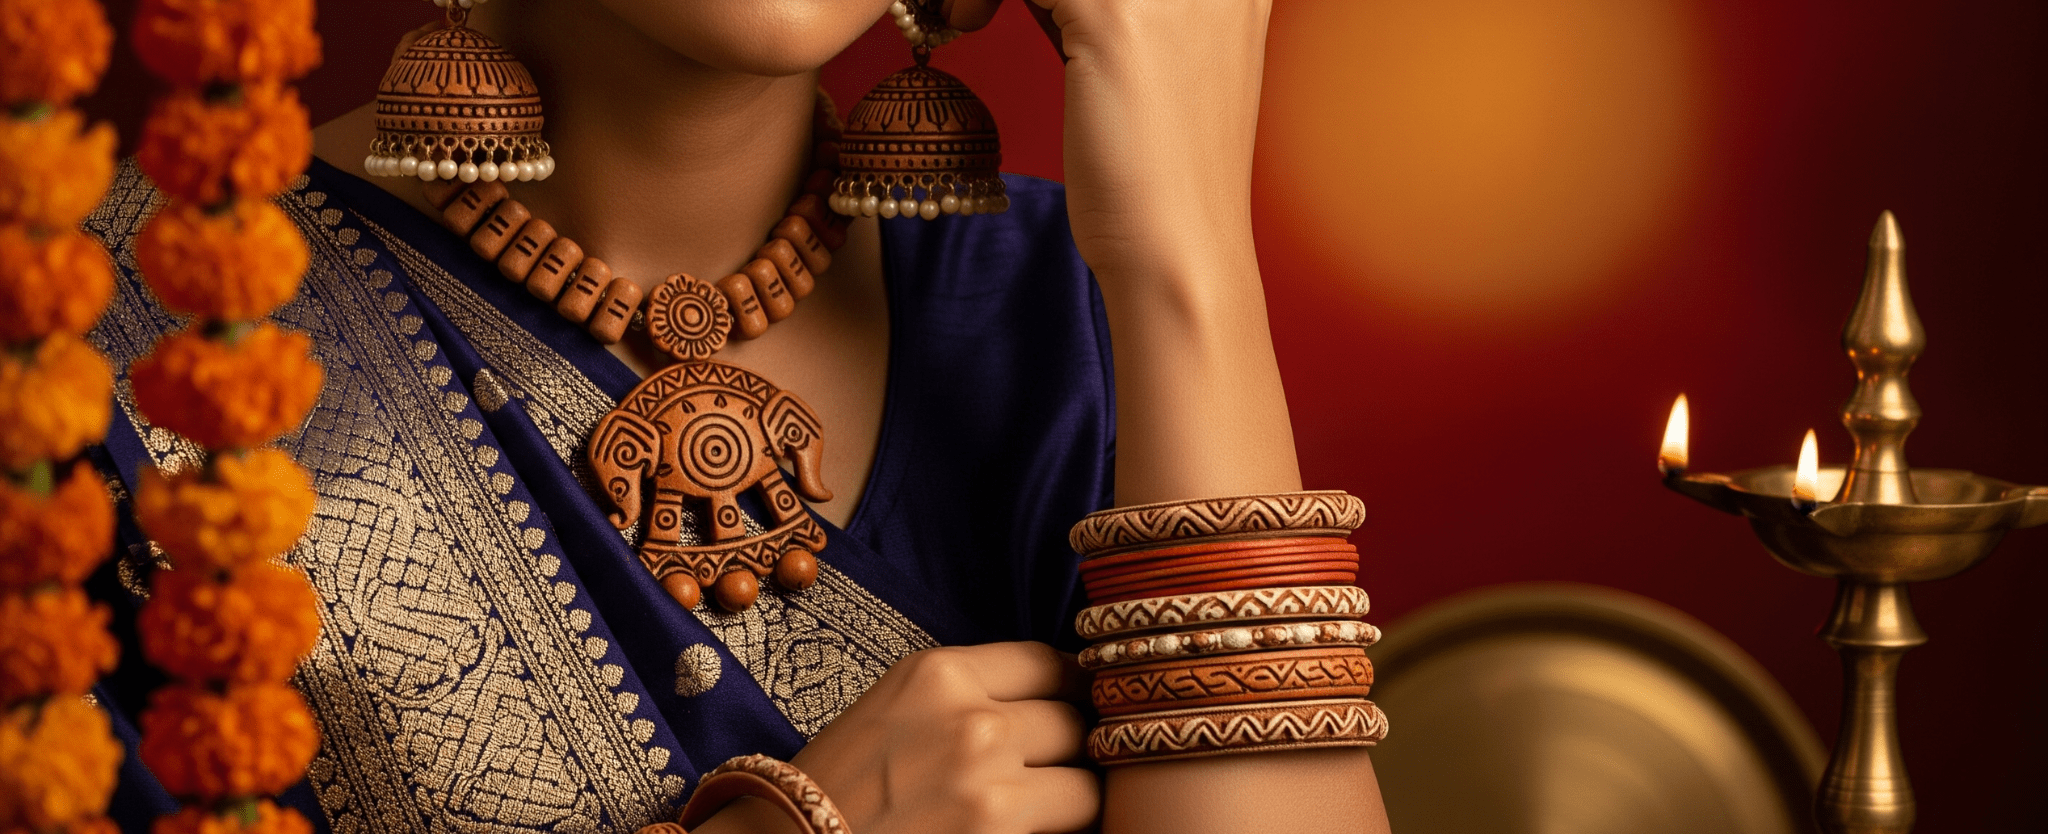
Yes. Terracotta is a natural material taken from the earth and it does not involve synthetic plastics or harmful chemicals in its raw form. When you use water-based paints and non-toxic sealants, the finished jewellery remains safe for you and the environment. Handmade terracotta pieces often last for years which also helps reduce waste from fast-fashion accessories.
With just a little time, basic tools, and our ready-to-use wet clay, you can create jewellery that is personal, stylish, and full of character. Whether you are a beginner in modelling in clay or already love DIY crafts, making terracotta jewellery is a relaxing and rewarding way to craft something truly unique.
Get Started with Ulamart’s Ready-to-Use Wet Clay
Ready to start your own terracotta jewellery journey? At Ulamart, we offer high-quality, ready-to-use wet clay that makes crafting easy and fun, no extra prep needed. Whether you’re a beginner or a seasoned DIYer, our clay is perfect for bringing your creative ideas to life.
Explore our collection today and create beautiful, eco-friendly terracotta jewellery that’s truly one of a kind!